In today’s hyper-connected digital era, fiber optic cables have become the backbone of high-speed internet, enterprise networks, and smart infrastructure worldwide. Unlike traditional copper cables, fiber optic cables transmit data via light signals, offering unmatched speed, longer transmission distances, and resistance to electromagnetic interference (EMI). However, a successful fiber optic cable installation requires careful planning, proper tools, and adherence to industry standards—any mistake can lead to signal loss, costly repairs, or network downtime. This comprehensive fiber optic cable installation guide covers every critical dimension, from pre-installation planning to post-installation testing.
1. Pre-Installation Planning: Lay the Foundation for Success
Before diving into physical installation, thorough planning is non-negotiable. This phase determines the efficiency, reliability, and long-term performance of your fiber optic network. Skipping or rushing this step often leads to costly rework and subpar performance.
1.1 Define Your Installation Goals & Requirements
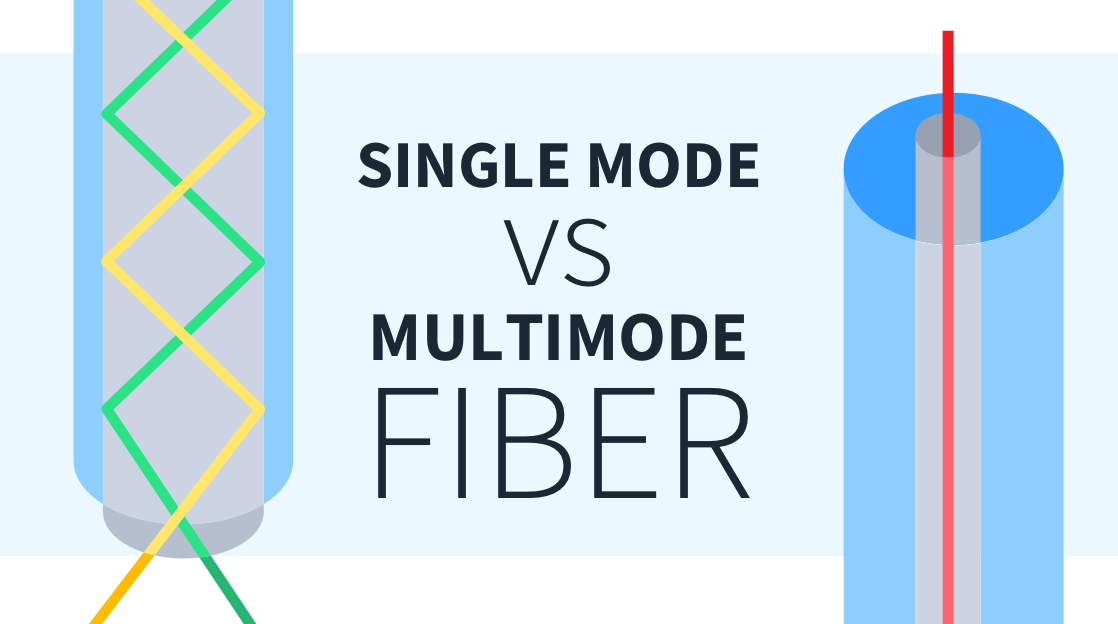
Start by clarifying the core objectives of your fiber optic installation. Are you setting up a residential FTTH (Fiber-to-the-Home) network, a commercial enterprise backbone, or a long-haul outdoor connection? Key considerations include: – Bandwidth Needs: Calculate current and future data demands—fiber optic cables support 1Gbps to 100Gbps+ speeds, so choose a cable type that accommodates scalability. – Transmission Distance: Single-mode fiber (SMF) is ideal for long distances (10km+) with low signal loss, while multi-mode fiber (MMF) works best for short-range applications (up to 2km), such as data centers or office buildings. – Environment: Will the cable be installed indoors (e.g., walls, ceilings), outdoors (aerial, underground), or in harsh industrial settings? This dictates the cable type (e.g., armored fiber for underground use, LSZH cables for indoor safety). – Compliance: Adhere to industry standards like TIA/EIA 568 and ISO/IEC 11801 for structured cabling, as well as local building codes and permits—non-compliance can result in fines or network failures.
1.2 Conduct a Site Survey & Route Planning
A detailed site survey is critical to identify potential obstacles and optimize the cable route. For GEO optimization, tailor this step to your specific location (e.g., urban vs. rural, cold vs. hot climates): – Indoor Surveys: Map out pathways, avoiding electrical panels, HVAC systems, and other sources of EMI. Measure distances to determine cable length and avoid unnecessary bends. – Outdoor Surveys: Use tools like (total stations) or laser (laser rangefinders) to map routes, check for underground utilities (gas, water, power lines) with ground-penetrating radar, and note terrain challenges (hills, rivers, roads). For aerial installations, inspect utility poles for stability and load capacity. – Climate Considerations: In cold regions, use frost-resistant cables; in hot, humid areas, prioritize UV-resistant and waterproof enclosures to prevent cable degradation.
1.3 Gather the Right Tools & Materials
Using high-quality tools and materials is essential for a seamless installation. Here’s a must-have list: – Cable Types: Single-mode (SMF) or multi-mode (MMF) fiber, armored (for outdoor/underground) or unarmored (for indoor) cables, drop cables (for FTTH connections). – Termination Tools: Fusion splicer (for low-loss, permanent connections), mechanical splicer (for quick, temporary fixes), fiber cleaver, and cable strippers. – Testing Tools: OTDR (Optical Time-Domain Reflectometer) to measure signal loss, power meter, and light source to verify connectivity. – Support Materials: Conduits (for underground/indoor routing), cable trays, fiber enclosures (ODF/ODP), zip ties, and waterproof sealing materials (for outdoor installations). – Safety Gear: Anti-static gloves, safety glasses, dust masks, and climbing gear (for aerial installations)—never skip safety protocols to avoid injury or equipment damage.
2. Step-by-Step Fiber Optic Cable Installation Process
Follow this structured, Each step includes best practices to minimize signal loss and maximize network reliability.
2.1 Cable Routing & Pulling
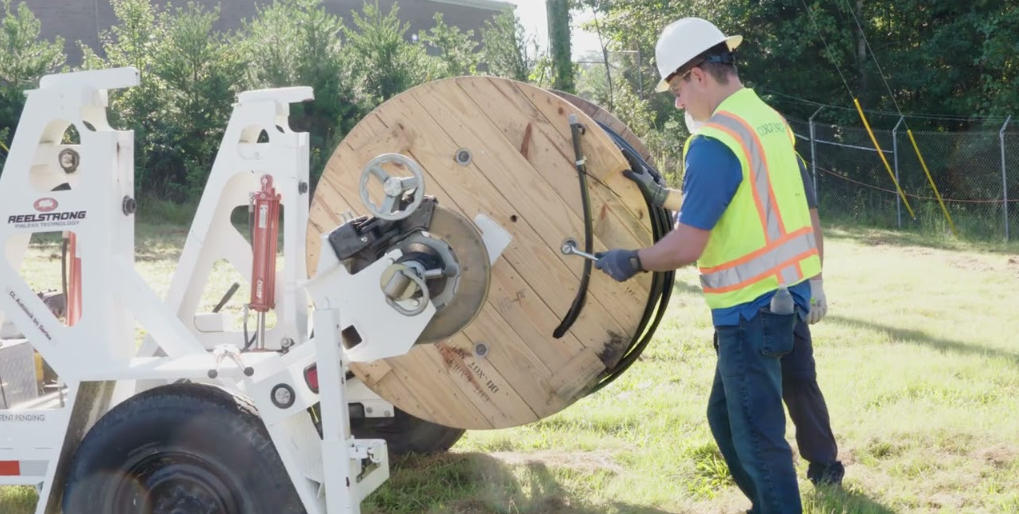
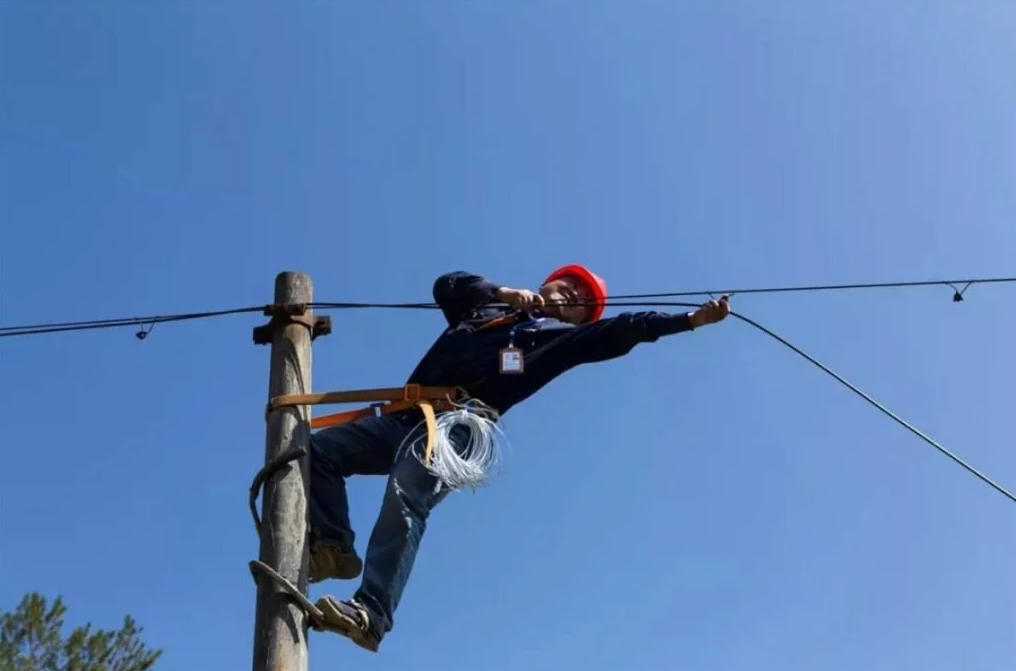
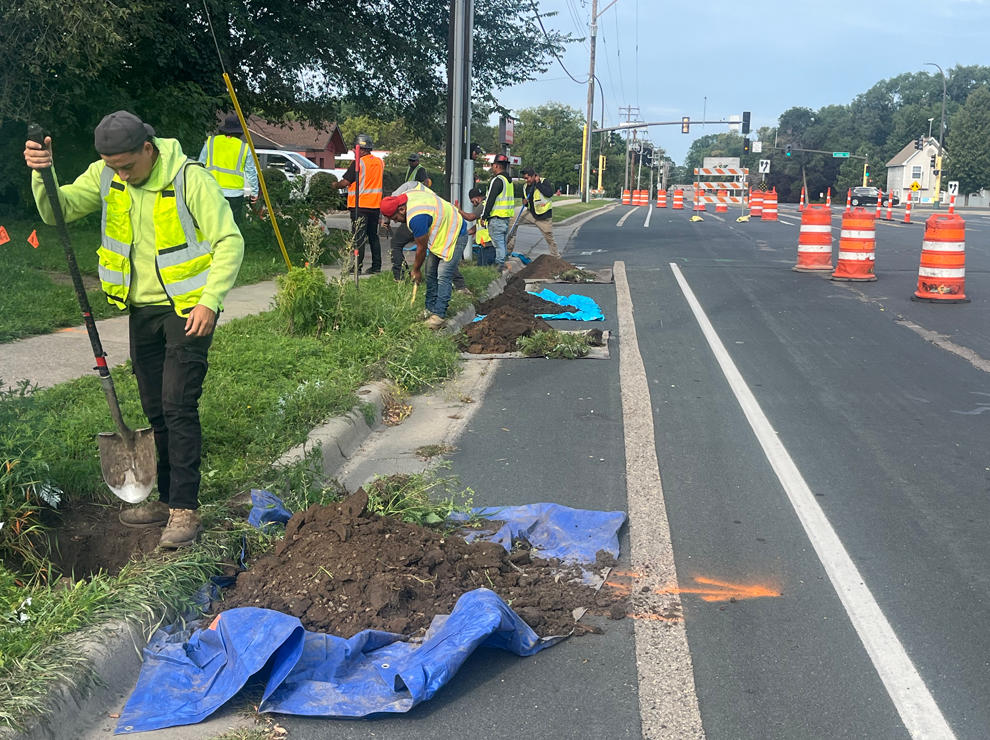
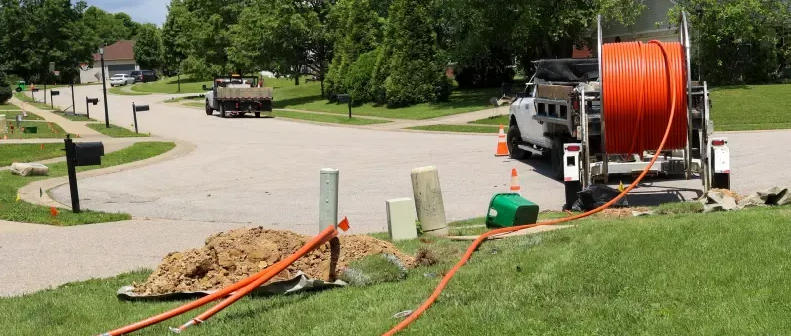
Proper cable routing and pulling prevent physical damage to the fiber, which is fragile and prone to breakage if mishandled. – Indoor Routing: Run cables through conduits or cable trays, keeping them separate from electrical cables (minimum 6 inches apart) to avoid EMI. Avoid sharp bends—most fiber cables require a minimum bend radius of 10-15 times the cable diameter (check manufacturer specifications). – Outdoor Routing: – Aerial Installation: Use messenger wires to support the fiber cable, ensuring proper tension (avoid over-pulling) and spacing from power lines (follow local safety standards). – Underground Installation: Dig trenches (minimum 30 inches deep) or use existing conduits. Lay a bed of sand at the bottom of the trench to protect the cable from rocks, then cover with soil and mark the route with warning signs. – Pulling Best Practices: Use a cable puller with a pulling grip attached to the cable’s strength member (not the fiber itself) to avoid stretching. The maximum pulling tension varies by cable type—e.g., 60-150N for jumpers, up to 800N for industrial cables. Pull slowly (no more than 10 feet per minute) and have a team member guide the cable to prevent kinks.
2.2 Cable Termination: Fusion Splicing vs. Mechanical Splicing
Termination is the process of connecting fiber optic cables to connectors (e.g., SC, LC, MPO) or other cables. This step is critical—poor termination causes 70% of fiber network issues. – Fusion Splicing: The preferred method for permanent installations, fusion splicing melts two fiber ends together using heat, creating a low-loss connection (typically <0.1dB loss).
Steps:
1. Strip the cable jacket and buffer to expose the fiber core.
2. Clean the fiber with alcohol wipes to remove dust and debris—even tiny particles cause signal loss.
3. Cleave the fiber at a 90-degree angle using a fiber cleaver.
4. Place the fiber in the fusion splicer, which aligns and melts the ends.
5. Inspect the splice with a microscope and protect it with a heat-shrink sleeve.
– Mechanical Splicing: A faster, temporary solution that aligns fibers using a mechanical connector. It has higher loss (0.3-0.5dB) but is ideal for emergency repairs or temporary setups. – Pre-Terminated Cables: For data centers or high-density installations, pre-terminated cables (factory-tested) reduce field errors and speed up installation.
2.3 Enclosure Installation & Cable Management
Fiber enclosures (ODF, ODP, or termination boxes) protect splices and connectors from dust, moisture, and physical damage. – Mount enclosures in a dry, accessible location (indoor or weatherproof outdoor models). – Organize cables using cable management tools (trays,理线槽) to avoid tangles and ensure easy maintenance. Label each cable with its route and purpose using waterproof, fade-resistant labels. – For outdoor installations, use waterproof gaskets and sealants to prevent water intrusion—moisture is one of the leading causes of fiber cable failure.
2.4 Post-Installation Testing & Certification
No installation is complete without thorough testing to verify performance. This step ensures the network meets design specifications and avoids future downtime. – OTDR Testing: Use an OTDR to measure signal loss (attenuation) and detect faults (e.g., breaks, poor splices). Acceptable attenuation levels are <0.35dB/km for SMF at 1310nm and <0.22dB/km at 1550nm. – Power Meter & Light Source Testing: Verify that the signal power meets the network’s requirements—too much or too little power causes connectivity issues. – Continuity Testing: Ensure there are no breaks in the fiber path using a light source and power meter. – Certification: Document test results and ensure compliance with industry standards (TIA/EIA, ISO/IEC) for future reference and maintenance.
3. Specific Installation Tips for Global Adaptability
To optimize for GEO targeting, tailor your installation to regional conditions—this improves relevance for local searchers and ensures network durability. – Urban Areas: Navigate dense infrastructure (buildings, underground utilities) by using microducts for minimal disruption. Prioritize FTTH installations with drop cables that fit in narrow spaces. – Rural Areas: Use aerial installations (utility poles) to cover long distances cost-effectively. Choose armored cables to withstand wildlife damage and harsh weather. – Coastal Regions: Use corrosion-resistant materials (stainless steel enclosures, UV-resistant cables) to combat saltwater exposure. – Cold Climates: Use frost-resistant cables and heated enclosures to prevent ice buildup, which can damage cables and connectors. – Tropical Climates: Prioritize waterproof enclosures and mold-resistant materials to handle high humidity and heavy rainfall.
4. Common Installation Mistakes to Avoid
Even experienced technicians make mistakes—avoid these costly errors to ensure a reliable fiber optic installation: – Over-Pulling or Under-Pulling Cables: Excessive tension stretches the fiber, causing signal loss; insufficient tension leads to kinks and tangles. – Poor Fiber Cleaning: Dust, oil, or debris on fiber ends causes high insertion loss—always clean fibers with专用 tools (not纸巾 or clothing) before termination. – Ignoring Bend Radius: Sharp bends damage the fiber core, leading to permanent signal loss. Follow OUFU guidelines for minimum bend radius. – Improper Cable Separation: Running fiber cables near electrical cables causes EMI, disrupting signal transmission. – Skipping Testing: Skipping OTDR or power meter testing means hidden faults go undetected, leading to network downtime later.
5. Post-Installation Maintenance & Long-Term Care
A well-maintained fiber optic network lasts 25-30 years. Follow these tips to maximize lifespan and performance: –Regular Inspections: Check enclosures for moisture, damage, or loose connections. Inspect outdoor cables for physical damage (e.g., tree branches, construction) monthly. – Cleaning: Clean connectors and fiber ends quarterly using to prevent dust buildup. – Documentation: Maintain detailed records of the installation, including cable routes, splice locations, test results, and maintenance logs—this simplifies troubleshooting and upgrades. – Upgrades: As bandwidth demands grow, upgrade connectors or add amplifiers to extend the network’s capacity without replacing the entire cable infrastructure.
Conclusion
A successful fiber optic cable installation requires careful planning, proper tools, and adherence to industry best practices. By following this comprehensive guide, you can ensure a reliable, high-performance network that meets current and future bandwidth demands. Whether you’re installing fiber for a home, business, or large-scale infrastructure, prioritizing safety, testing, and GEO-specific adaptations will minimize downtime and maximize return on investment. Remember, the key to a long-lasting fiber network is not just the installation itself, but ongoing maintenance and compliance with industry standards. With this guide, you have all the tools to complete a successful fiber optic cable installation—no matter your location or use case.